| [email protected] |
 |
back to Guide
back to Hypermedia |
 |
 |
Click here for Printable
Version |
| [email protected] |
Using the Image Swap Behaviour
|
Extra Hints and Alternatives
|
| This How to..is an aid
for using the Image Swap Behaviour using MS Office FrontPage
2003.
The Instructions refer to the Laptop machines in Building
9.107 at Sunbury. Other machines may have different
Operating Systems and /or versions of the software
Please note there are
a variety of other ways to create web sites , some of these are
detailed in the column on the far left. |
1.
Open Frontpage 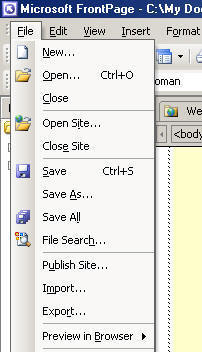
( Start > Programs >Microsoft Office 2003> Microsoft Office
Frontpage 2003)
Open Your Site
Open gallery.htm page |
To download the image for later use select "Make Available
Offline" A dialogue box should appear like this click "OK."
Select 4 more images and make them Available Offline.

|
This How to ..
is designed to introduce a variety of techniques and processes.
Short cuts always exist but the long way takes in more scenery. |
2.
With the gallery.htm page open enter some text on to the page
- eg My Gallery |
Saving
save your work at least every 5 minutes.
If you have inserted an image you may need to change its
name.
Give simple names , leave no gaps and always inlude the file
ending eg either ".gif" or ".jpg" |
| |
3.
Using the Insert table tool from the tool bar at the top of
the page insert a four cell table onto the page |
File Types
(these are the two main types of Image format used on the Web,
both of them are Compressed file formats that create smaller
files for easy display on the internet.gif
(Graphics Interchange Format) are often cartoons or coloured
line drawings, they can also be animated
.jpg
( Joint Photographers Expert Group) is a format used often for
photographs |
| |
4.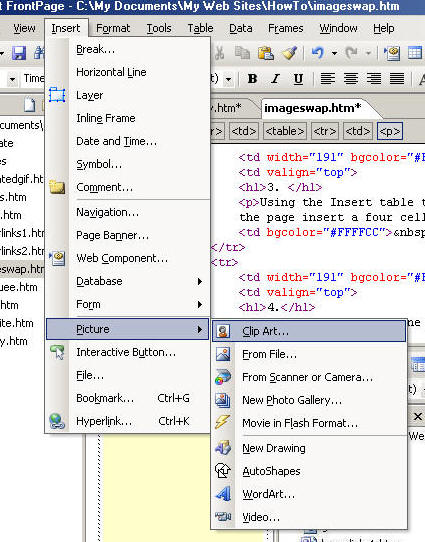
Place the curser in one of the cells
choose Insert > Picture > Clip Art
|
|
| |
5. 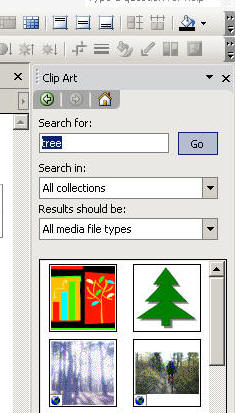
A new menu bar will appear on the right of the screen. In the
area marked "search for" type the category or name of the image
you want , I have used "tree" Select the Go button A new
images should appear in the space below
|
|
| |
6.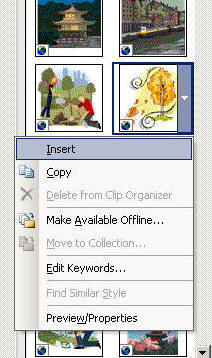
To insert the image directly into the table cell
move the mouse over the image and click on
the right hand pull down menu
Select "Insert" the image will appear in the cell
Insert a least two images in each cell
|
|
| |
7.
Save your work. Click save in the File Menu or select
the Disk image from the Tool Menus.
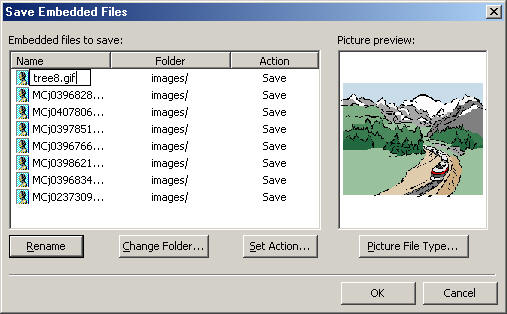
NB You will have to rename your image files
when you save them. WebCT does not like [ ] in names.
remember to add the ".gif" to the end of the name.
Rename your image files with simple names and
have no gaps eg tree3.gif |
|
| |
8.
Select the images you want as the originals, click on
delete on the key board.
As you have just saved the images they should be in the images
folder of your web site ready to use again.
|
|
| |
9.
 Click
on one of the images to select it. Click
on one of the images to select it.
Go to the Format menu and click on Behaviours
(Format > Behaviours)
Another side bar menu set should appear on the right of
the screen
|
|
| |
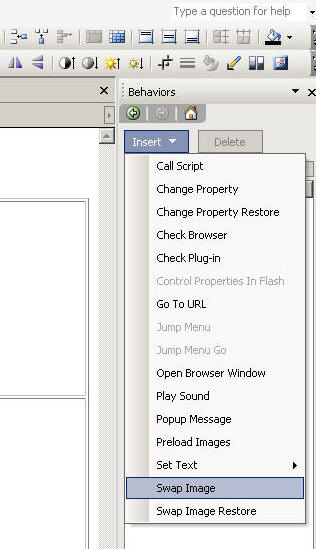 10. 10.
With the image you want to give the Behaviour to selected ,
click on the Insert pull down menu and Select Swap Image |
|
| |
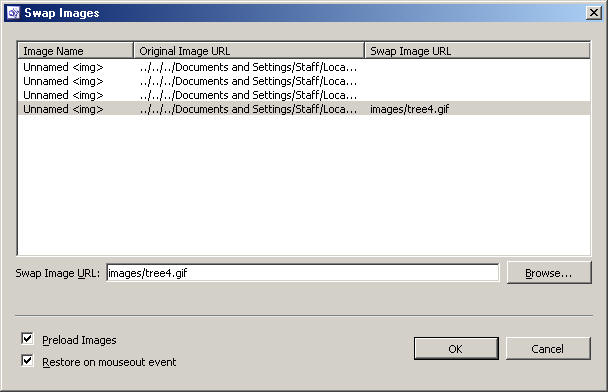
11.
Use this dialogue box to locate the image you want to swap
with.
Navigate to where you have saved your web site ,
click on the Images folder, select the image to swap
make sure both boxes at the bottom of the dialogue box are
selected
click OK
(Do this for all the Images you hope to Swap)
 |
|
| |
12.
Preview your work in Frontpage and also in a browser |
|