|
Lesson 1
Lesson 2
|

| Working with Your Page
|
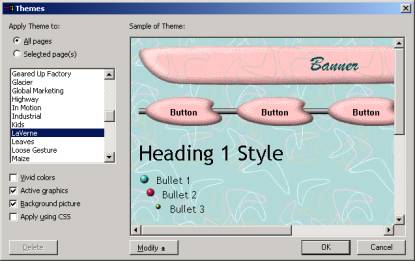
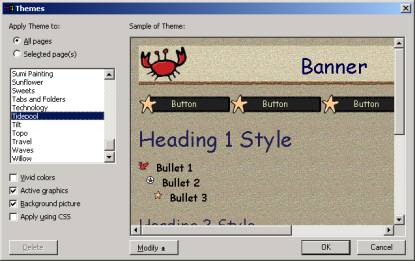
Image 7. Your Themed Site |
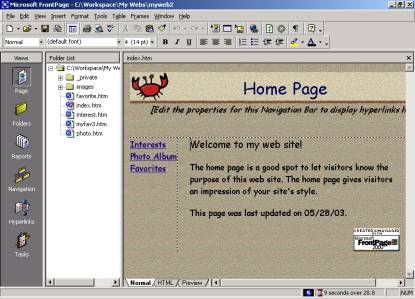
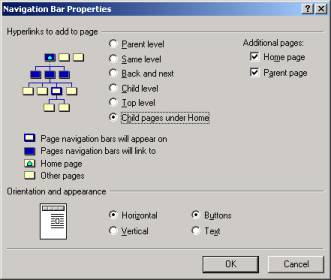
Editing the navigation Bar Properties
|
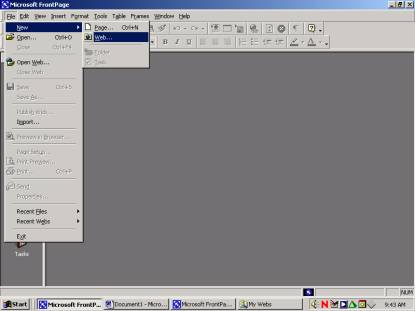
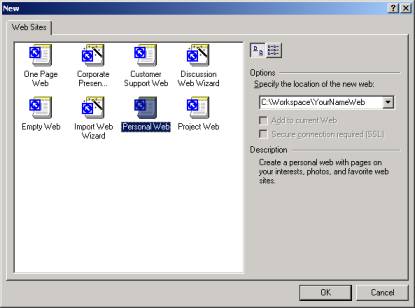
Image 8. Creating a Personal Web |
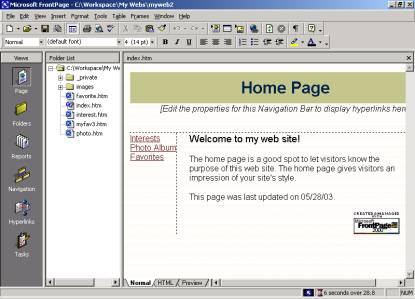
| Viewing Your Web Site | 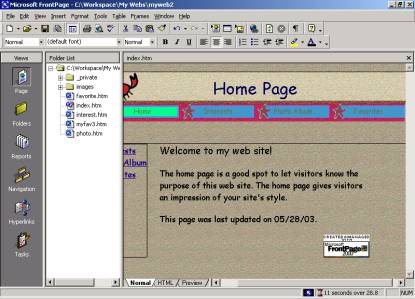 Image 9. |
Lesson 4
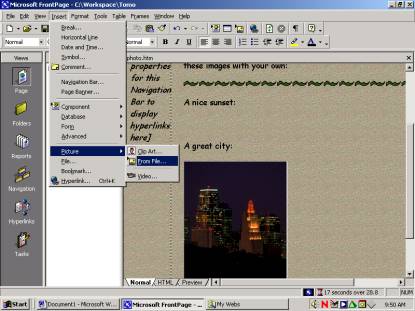
| Changing Content Adding a Picture
|
Image 10. Changing the Picture |
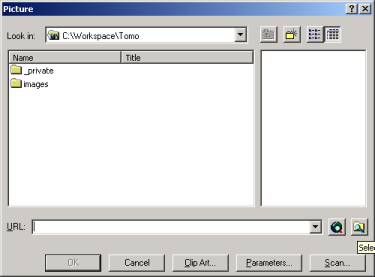
Finding a Picture
|
Image 11. The First Dialogue Box |
Navigate to My Pictures (try My Documents or Workspace)
|
Image 12. Selecting a File |

Lesson 5
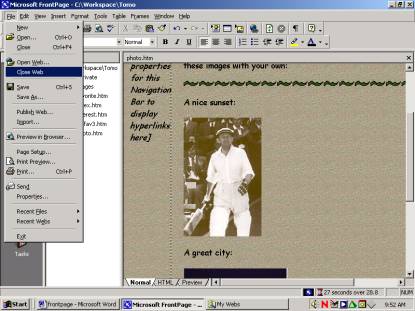
| Saving Your Work
|
Image 13. Close Web |
Save Changes
|
Image 13. Save Changes |
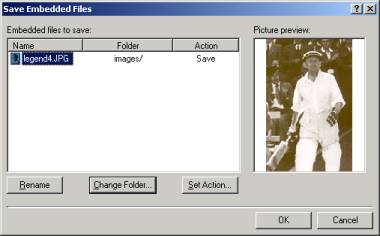
Save the Files
|
Image 14. save Embedded Files |

Lesson 6
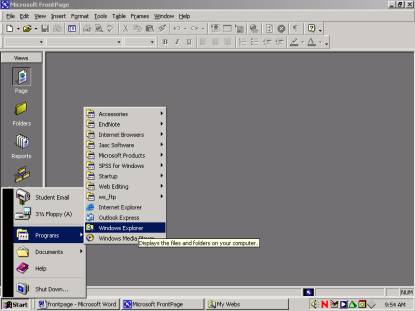
| Opening Windows Explorer
|
Image 15. Opening Windows Explorer |
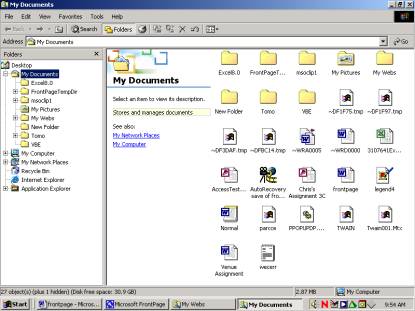
Looking at The Window
|
Image 16. Windows Explorer Window |
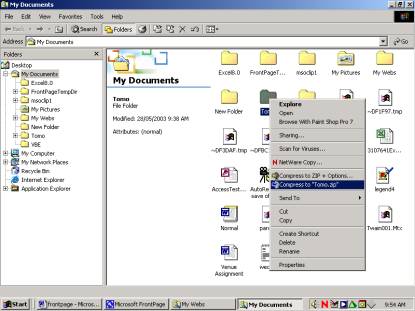
The Right Mouse Click Menu
|
Image 17. The Right Mouse Click |
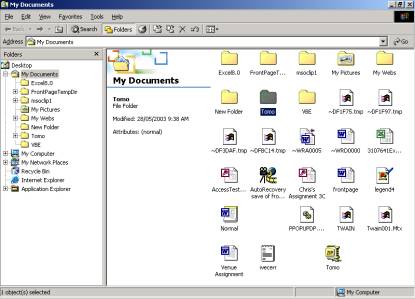
Your Archived File
|
|